How to Tile a Bathroom Floor
Tiling a bathroom floor can be a rewarding and satisfying home improvement project. Not only does it enhance the aesthetics of your space, but it also adds value to your property. Whether you're a seasoned DIY enthusiast or a first-timer, this guide will walk you through the step-by-step process of tiling a bathroom floor. Plus, if you're looking for apartments in Jacksonville, FL, contact The Lofts at Wildlight to schedule a personal tour.
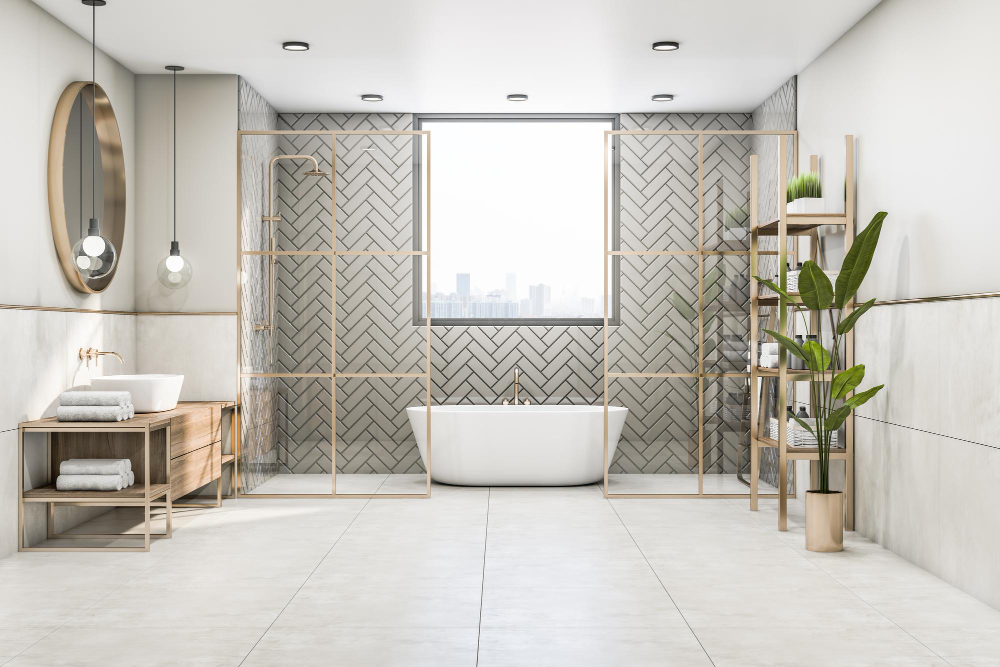
Why Tile Your Bathroom Floor?
Tiles are a popular choice for bathroom floors due to their durability, water resistance, and versatility in design. Here are some benefits of tiling your bathroom floor:
- Durability: Tiles, especially ceramic and porcelain, withstand heavy foot traffic and last for years.
- Water Resistance: Tiles are highly resistant to water, making them perfect for bathrooms.
- Easy Maintenance: Tiles are easy to clean and maintain, requiring only regular sweeping and mopping.
- Design Versatility: Available in various colors, patterns, and sizes, tiles offer endless design possibilities.
Materials and Tools You'll Need
Before you start tiling your bathroom floor, gather the necessary materials and tools. Here's a checklist:
- Ceramic or Porcelain Tiles
- Tile Adhesive (Thin-set Mortar)
- Tile Spacers
- Grout
- Grout Sealer
- Notched Trowel
- Tile Cutter or Wet Saw
- Tape Measure
- Level
- Rubber Mallet
- Sponge
- Bucket
- Safety Goggles
- Knee Pads
Step-by-Step Guide to Tiling Your Bathroom Floor
Step 1: Prepare the Surface
- Remove Old Flooring: Start by removing any existing flooring material. If you're dealing with vinyl or laminate, use a utility knife to cut and peel it off.
- Clean the Subfloor: Ensure the subfloor is clean, dry, and level. Use a vacuum to remove any debris and fill any gaps or cracks with a suitable filler.
- Install Cement Backer Board: If your subfloor is plywood, consider installing a cement backer board to provide a stable base for the tiles. Secure it with screws and ensure the seams are sealed with mesh tape and thin-set mortar.
Step 2: Plan the Layout
- Measure and Mark: Measure the dimensions of your bathroom and mark the center point. This will help you create a balanced and symmetrical tile layout.
- Dry Lay the Tiles: Lay out the tiles without adhesive to visualize the pattern and make any necessary adjustments. Use tile spacers to maintain even gaps between the tiles.
Step 3: Apply Tile Adhesive
- Mix the Adhesive: Follow the manufacturer's instructions to mix the tile adhesive. It should have a peanut butter-like consistency.
- Spread the Adhesive: Starting at the center point, spread the adhesive evenly on the subfloor using a notched trowel. Work in small sections to prevent the adhesive from drying out.
- Set the Tiles: Press each tile firmly into the adhesive, using tile spacers to maintain consistent spacing. Use a level to ensure the tiles are even and a rubber mallet to tap them gently.
Step 4: Cut and Fit Tiles
- Measure and Mark: Measure the tiles that need to be cut to fit around the edges and obstacles like the toilet or vanity.
- Cut the Tiles: Use a tile cutter or wet saw to make precise cuts. Always wear safety goggles to protect your eyes.
- Fit and Set the Tiles: Place the cut tiles in their designated spots, ensuring they fit snugly. Press them into the adhesive and check for levelness.
Step 5: Grout the Tiles
- Mix the Grout: Follow the manufacturer's instructions to mix the grout. It should have a smooth, toothpaste-like consistency.
- Apply the Grout: Using a rubber float, spread the grout diagonally across the tiles, pressing it into the gaps between the tiles. Work in small sections to prevent the grout from drying too quickly.
- Clean the Tiles: After applying the grout, use a damp sponge to wipe off excess grout from the tile surfaces. Rinse the sponge frequently and be careful not to disturb the grout lines.
Step 6: Seal the Grout
- Allow Grout to Cure: Give the grout sufficient time to cure, usually 24 to 48 hours, depending on the manufacturer's recommendations.
- Apply Grout Sealer: Use a grout sealer to protect the grout lines from moisture and stains. Follow the manufacturer's instructions for application and drying times.
Tips for Success
- Work in Small Sections: To prevent the adhesive and grout from drying out, work in small, manageable sections.
- Use Tile Spacers: Tile spacers ensure even gaps between tiles, resulting in a professional-looking finish.
- Check for Levelness: Regularly check that the tiles are level using a spirit level. Adjust as needed before the adhesive sets.
- Clean as You Go: Wipe off any excess adhesive or grout from the tile surfaces immediately to avoid hard-to-remove residue.
Conclusion
Tiling a bathroom floor can be a rewarding project that transforms the look and feel of your space. By following these steps and tips, you'll achieve a professional-looking result that you can be proud of. And if you're looking for apartments in Jacksonville, FL, contact The Lofts at Wildlight to schedule a personal tour. Happy tiling!